How to Build a Wooden Dog Bed for Small Dogs That’s Practical and Cozy
Build a Wooden Dog Bed by Aaron Barnett |Published 09-11-2020
As a small dog owner and DIYer, there are lots of woodworking projects you can explore to make life more comfortable for you and your dog. One project that stands out is learning how to build a dog bed out of wood. If you have any pets, especially a dog, making a wooden dog bed for your small dog can be an enjoyable and practical project to keep you busy. Please keep reading for tips on how you can do it well.
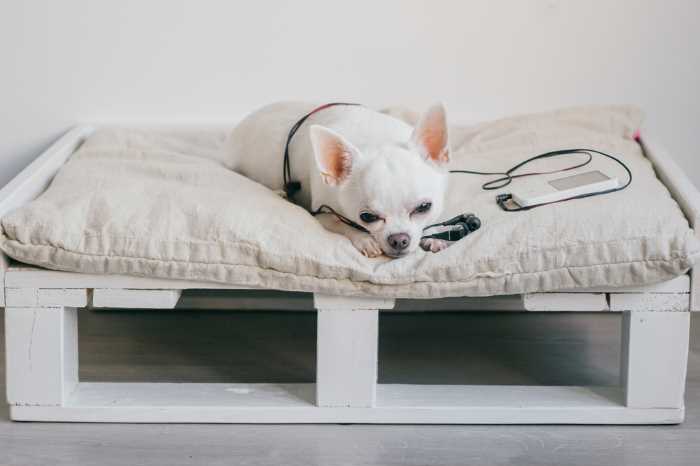 Build a Wooden Dog Bed
Why should you build a wooden dog bed?
Dogs can spend 12 to 18 hours of sleeping every day, and just like humans, sleep is essential to a dog’s health and wellness. Given that our furry friends spend a lot of time sleeping and napping, as a pet owner, you might want to make sure your small dogs have a safe and comfortable place to sleep. This can easily be a Diy dog bed that you can make on your own.
Dogs need to have their own bed as much as you do so they can experience the warmth and support they need whenever they want to have a rest.
A good bed can also prevent them from having arthritis or joint pains that could happen if you let them sleep on hard floors. Handmade dog beds are fun to build, easy to maintain, and you should not have to worry about an uncomfortable pet. As a DIYer or a new inspiring woodworker, you might want to know the “how to build a dog bed from wood” and why it can be a winning project for you.
Tips for designing your DIY dog bed
Making a dog bed needs some planning and organizing from the beginning, but here is a list of the top tips to consider on how to make a kick-ass dog bed.
Prepare the wood frame to the right specific size
Making your dog bed starts with designing and building the frame that will hold a cushion. You want to consider the frame’s ideal size for your small dog. The size of your dog bed should give enough space to move around. You can do this by measuring your dog’s old bed or the actual area that would feel comfortable.
For example, a small dog that weighs 1-10 lbs should have a small wood-frame bed but no smaller than about 18″ L x 13″ W. For a dog who weighs 11-25 lbs, a small wood-frame that’s 24″ L x 18″ W will do. A 26-40 lbs weighing dog should have a medium wood frame with 30″ L x 20″ W, while 41-70 lbs should have a large size frame of about 36″ L x 23″ W.
Decide if you want built-in storage underneath the dog bed
Installing storage underneath your dog bed will give you some advantages. For example, you can store extra pillows or toys for your dog right where you need them. This can maximize your organization.
Pick a wood finish to apply to the bed’s frame
Applying a wood finish like paint, polyurethane, or wood varnish will achieve the best looking wooden dog bed. Here are some of the other reasons:
- A finish will preserve and protect the wood from outside scratches, moister, and insects that could penetrate the surface.
- Create a good finish to match the style and interior design of your room. There are two main types of wood finishes that you could choose and apply. First, a paint finish and second a varnish or polyurethane finish. Here are some differences to consider:
- A paint finish will cover and protect the top of the wood’s surface while polyurethane or varnish will penetrate the wood. The more tupers as a thinner you use on the first coats, the more the finish will penetrate the wood.
- Polyurethanes will preserve and protect the wood from the inside, thus making the wood less prone to noticeable scratching than paint because of the clear coat.
- Polyurethanes can slowly wear away, while paint can peel and scratch if it’s not high quality, or if you didn’t prep the wood well beforehand with sanding.
- Both finishes can be cheap, with Polyurethanes offering a more natural look and paint having a more colorful look.
- Keep in mind that your finishing choice might change your fixings you choose to use. For example, if you use paint, fixings are hidden. If you use a clear coat, you want to have nice looking fixings like stainless steel screws, or smaller screws or nails that can be hidden when covered by a wood filler.
Should you design a dog bed that is raised from the ground?
A DIY raised dog bed is a design option to consider for your project. Some people like a dog bed on the floor for simplicity, and some prefer the little extra work of building a raised dog bed.
Aside from a nice-looking style, a raised dog bed can give your pet a comfortable place with a fresher atmosphere than beds, which are flat on the ground. You can also opt to have a dog bed attached to a human bed, which means your doggie will always be right there with you as a dog daybed and a dog bed nightstand.
Get the tools and materials you need to build your dog bed
The DIY tools you will need are:
- A tape measure and pencil to mark your measurements
- A hammer
- A cordless circular saw
- A cordless drill for screws and installing fastenings
- A decent belt sander to achieve smooth wood from recycled materials
- A Hand sander for touch-ups
- A finishing sander or an orbital sander
- Paintbrush or foam to apply a clear coat
To start building your DIY wooden dog bed, the first thing you should do is have a look around and buy or source free timber from recycled wooden pallets that you can use for building the frame. When making a place for your dog, you might also want it to be a cheap and easy project that you can showcase, so always look for free recycled resources if available.
When picking the right timbers, note that wood when inside the house as furniture doesn’t need any wooden treatment to prevent rot from happening. You should also note that treated timber that can leach toxic chemicals from inside the wood and should be avoided for your dog bed.
As pallets are untreated, they are perfect but, check that the wood doesn’t have a stamp identifying that the wood has gone through the tanalized treatment process.
After finding some untreated timber, you should look for some 60mm stainless steel screws to make your dog bed look better when exposed, not that the stainless steel is needed. But, if you will use fillers, with paint or fabric coverings, you can opt to use cheaper zinc screws or a brad nailer.
How to put your wooden dog bed together
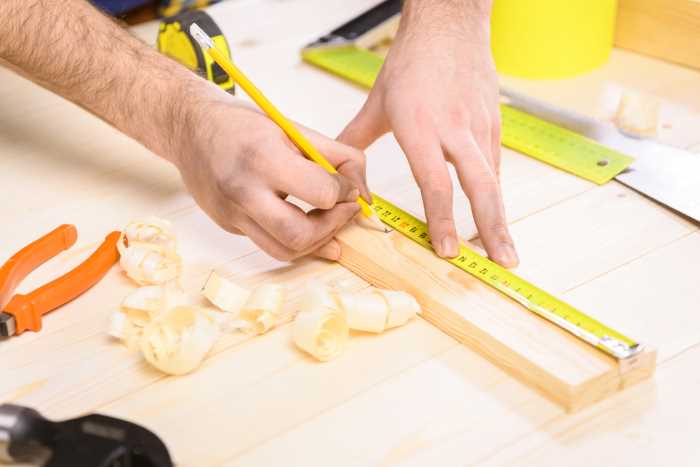 Always measure before you cut
The first step when making a dog bed is to sand the wood you will use smooth using a belt sander. Wood from pallets, for example, are ruff-sawn. This means that the timber needs an excellent solid sanding to be smooth. Sanding the wood thoroughly with the right tool will save your dog from getting a splinter or any injuries.
After sanding, the best way to fix everything together is to use screws together with a cordless drill, they are stronger than nails, and you can undo something to adjust if needed.
So when assembling your dog bed, use screws instead of nails to make the installation easier and stronger.
While installing the dog bed, keep an eye on the size of your project. Take note that there are various sizes of dog beds, such as extra small, small, medium, and large. Make sure that it will correspond to the size and needs of your small dog.
After ensuring that your dog bed is in a perfect size, you can now install four feet in the corners. You can use small bits of pallet wood to stop it from rocking and scratching the floor. Make sure that the feet are well-sanded and smooth at the bottom.
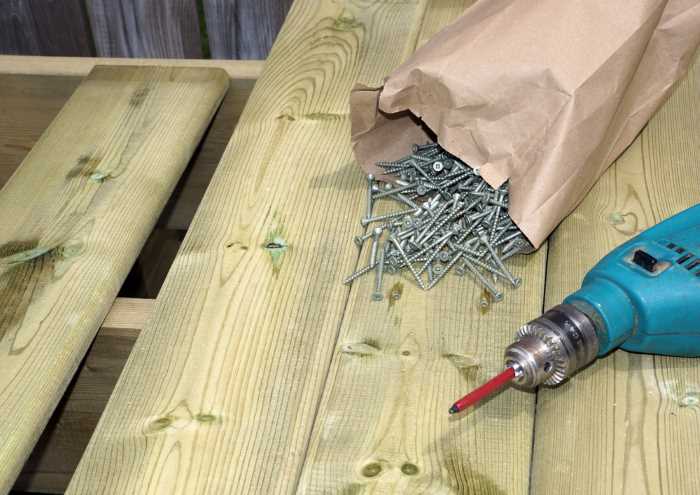 Screws are always the best choice for assembling your dog bed.
Here’s One Example if You Want to Build a Wooden Dog Bed
Most DIY will have their own ideas about how they want their dog bed to look. Here is an example of just one type of wooden dog bed. The video walks you through each step of the process.
Apply the finish to the wood
After fixing the dog frame together, it is now time to apply your chosen wood finish.
Applying a clear coat
When applying a clear coat finish, consider the following:
- Sand the corners of the wood to prepare for the application, to make sure that each corner is well-sanded before applying the finish.
- Apply the coats by using a foam brush, bristle brush, or cloth. Increase the pressure when staining if you have woods with large pores like oak, ash, or mahogany. This is to ensure that the stain will work its way into the pores. Apply the right amount that the wood can absorb.
- Record and monitor how long since you applied the last coat. It is essential to leave the stain long enough for deep penetration and consistent color. After ensuring that it is well-dried, you can now wipe off the remaining non-absorbed liquid on the wood surface.
- Apply about three coats. You can apply a water-resistant clear finish as well at the end.
Applying paint
When applying a paint finish, consider the following:
- Give the wood final sand, especially the corners of the frame. Ensure that the surface is smooth and ready for a paint finish.
- Make sure to fill in any holes with wood filler
- Apply an undercoat to the wood and let it dry for at least three hours.
- After the undercoat, apply two enamel coats and let it dry.
- After the enamel coats, you can put the last coat of semi-gloss or gloss. Do not forget to sand in between the application of your coats to achieve a smoother finish.
- If you applied an oil-based primer, it would also require an oil-based paint. Oil-based primers and paints need more time to dry than water-based primers and paints. Water-based paint is less toxic and more comfortable to work with, however.
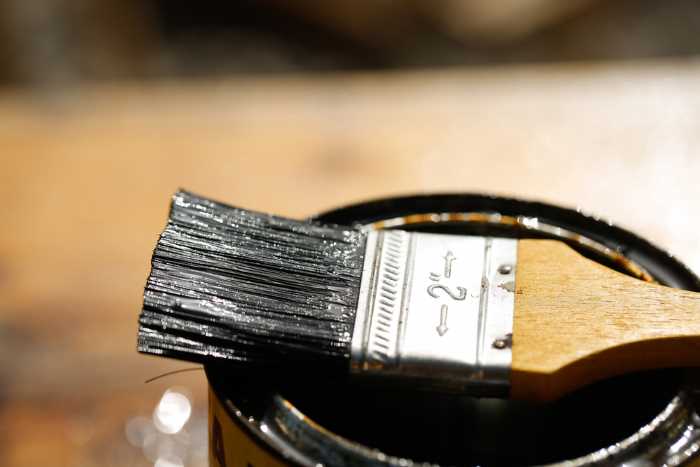 Decide how you will finish off your dog bed; Take into consideration your home’s decor and make your dog bed part of the room.
Add a blanket or cushion to the wooden frame
For a more comfortable Diy small dog bed, you need to add a blanket or cushion, of course. You can sew a cushion cover yourself, filling the inside with some foam from an old mattress.
You can also lay a warm blanket, or even knit one. If you also found new standard pillows in your room, you can take it, add cotton stuffing for a softer touch and change its covering to a more comfortable pillow cover for your dog. Like humans, dogs enjoy soft and warm blankets to sleep on.
Final notes
A dog bed is a must-have for your dog in many ways, and it’s even more impressive if you made it! First, by finding the perfect materials from recycled pallets that provides the safest and most comfortable place for your small dog. Making your dog bed is another project to be proud of as a DIYer or beginner woodworker, and you should start it today!
Author Bio
Aaron Barnett is a builder who wants to spread the mindset regardless of anyone’s experience that, “Every man or woman should always have 1-3 DIY projects on-the-go”.
Aaron has the building experience, covering all areas of construction from planning, setting-out, foundations, framing, roofing, and so on. He has worked on a wide range of houses, apartments, fit-outs, and landscaping projects.
Does This Article Deserve Your Thumbs Up?
We always appreciate your support and encouragement. Your thumbs up means so much to us. Please like this article.

Free Monthly Newsletter
Sign Up for Our Free Newsletter and get our Free Gift to You.
my E-book, The Top 10 Mistakes People Make When Choosing a Dog (and how to avoid them)
If you enjoyed this page, I’d love it if you’d let me know. Just click the button below. Thank you.
Sharing is Caring



earch our drug database. Everything information about medication.
buy prescription drugs online without
Everything what you want to know about pills. Medscape Drugs & Diseases.
Comprehensive side effect and adverse reaction information. Cautions.
dog antibiotics without vet prescription
Top 100 Searched Drugs. Comprehensive side effect and adverse reaction information.
Cautions. Read now.
prescription drugs
Drug information. Generic Name.
Get here. Drug information.
prednisone 1 mg tablet
Everything information about medication. Get warning information here.
Get here. Cautions.
prednisone price canada
Generic Name. Everything about medicine.
Everything about medicine. What side effects can this medication cause?
amoxicillin capsule 500mg price
Everything about medicine. Some trends of drugs.
Best and news about drug. Everything what you want to know about pills.
zithromax price south africa
Get information now. Everything about medicine.
viagra without doctor prescription amazon – https://cheapdr.top/#
perscription drugs without prescription https://pillswithoutprescription.pro/#
buy prescription drugs from india https://indianpharmacy.pro/#
tadalafil online 10mg – https://tadalafilfst.com/#
canada prescription – online prescriptions no script pharmacy
legit canadian pharmacy online – legal canadian pharmacy online canadian drugs cialis
birth control pills without seeing a doctor https://birthcontrolpills.pro/# – birth control pills without seeing a doctor
canada pharmacy reviews: reliable canadian pharmacy canadian pharmacy mall
mexican rx online https://mexicanpharmacy.life/# – pharmacies in mexico that ship to usa
world pharmacy india https://indiapharmacy.world/# – buy medicines online in india
canada pharmacy online legit https://canadianpharmacy.legal/
pet meds without vet prescription canada
buy generic valtrex on line https://valtrex.auction/ valtrex medication
Sildenafil 100mg price https://viagra.eus/# Viagra tablet online
zithromax z-pak price without insurance https://zithromaxbestprice.icu/ zithromax online usa no prescription
deep web drug links darknet markets onion address deep web drug url
buy prescription drugs online https://edwithoutdoctorprescription.pro/ prescription without a doctor’s prescription
lana rhoades hot – https://lanarhoades.pro/ lana rhoades unleashed