How To Make Them Without Sewing – Top Dog Tips
You’ve obviously stumbled upon this article while researching how to make your own dog boots. If you lack sewing skills like I do, these DIY dog boots are a good option. Making your own dog boots allows you cater them to your dog’s exact measurements, and you’ll probably save some money too.
A dog’s paw pads are tough, but they can’t withstand everything. Ice, snow, hot pavement and rough terrain can all wreak havoc on your pet’s feet. Boots will protect your dog’s paws from weather, environmental dangers and even dangerous chemicals.
To put it simply, boots are a necessary piece of clothing for dogs, and they’re needed all year round. It’s important that you outfit your pup with durable boots that fit properly. Boots that are too loose will slip out of place or may even fall off. Dog boots that are too tight won’t be comfortable either. They may reduce circulation to the paws, or cause chaffing and skin irritation.
Before you make these dog boots, you’ll need to measure your dog’s paws. I’ve made a video guide that shows how to measure dog paws properly. You can watch the video guide here before learning how to make DIY dog boots.
DIY Dog Boots: How To Make Them Without Sewing
Supplies You’ll Need
- Material for the boots
- Durable material for the tread (denim, leather, etc…)
- 1/4″-1/2″ elastic band
- Stick-on Velcro
- Hot glue gun & glue sticks
- Scissors
DIY Dog Boots
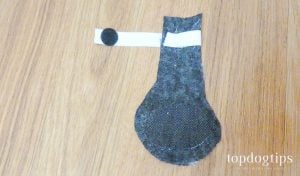
Once you have your dog’s paw measurements, you can draw a pattern on whatever material you choose. I chose to use felt, because it’s durable, warm and soft. You could use a waterproof material if your dog will be wearing his boots outside in bad weather.
Add 1″ to the width measurement of your dog’s paw. This will allow for a small amount of overhang on each side that can be glued together. Make the base of the boot as long as your dog’s paw and then add 3″-5″ for the cuff that will go up his leg.

Now, you’ll need to make a Velcro strap to fasten each boot. At the top of each boot put a dot of glue and stick the end of an elastic strap to the glue. The length of the strap will depend on the distance around your dog’s leg. Remember, make the strap about 1″ longer than the circumference of the leg to allow for room to glue the Velcro fastener.
Glue a Velcro fastener to the other end of the elastic strap. You can see how I do this in the video above. Now, you can wrap the strap around the boot to secure the boot around your dog’s leg.
Cut a piece of the tread fabric that will fit over the bottom of the paw base of the boot. Hot glue the tread fabric to the bottom of the boot. This will ensure that your dog can get traction on slipper floors or icy surfaces.
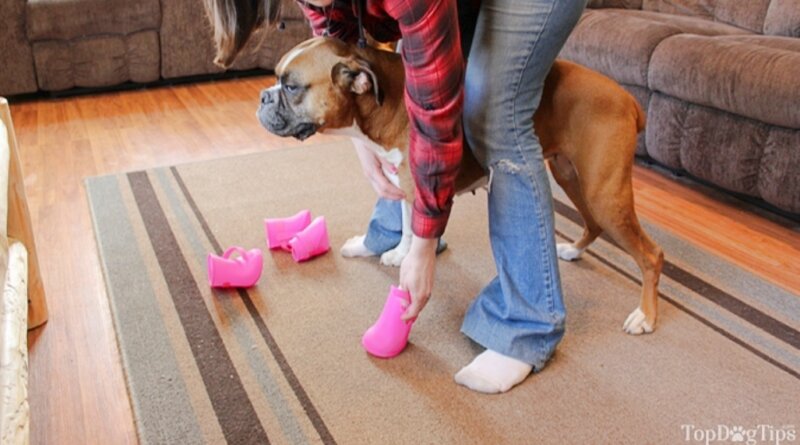
I’ve also made a video guide on how to put boots on your dog. This might sound like an easy task, but it’s not simple with every dog. Some dogs may take a bit of conditioning before they are comfortable enough to allow you to touch their paws in this way.
READ NEXT: 19 Health Tips for Picking Dog Boots and Clothes


